

Troubleshooting Common Backup Camera Installation Issues
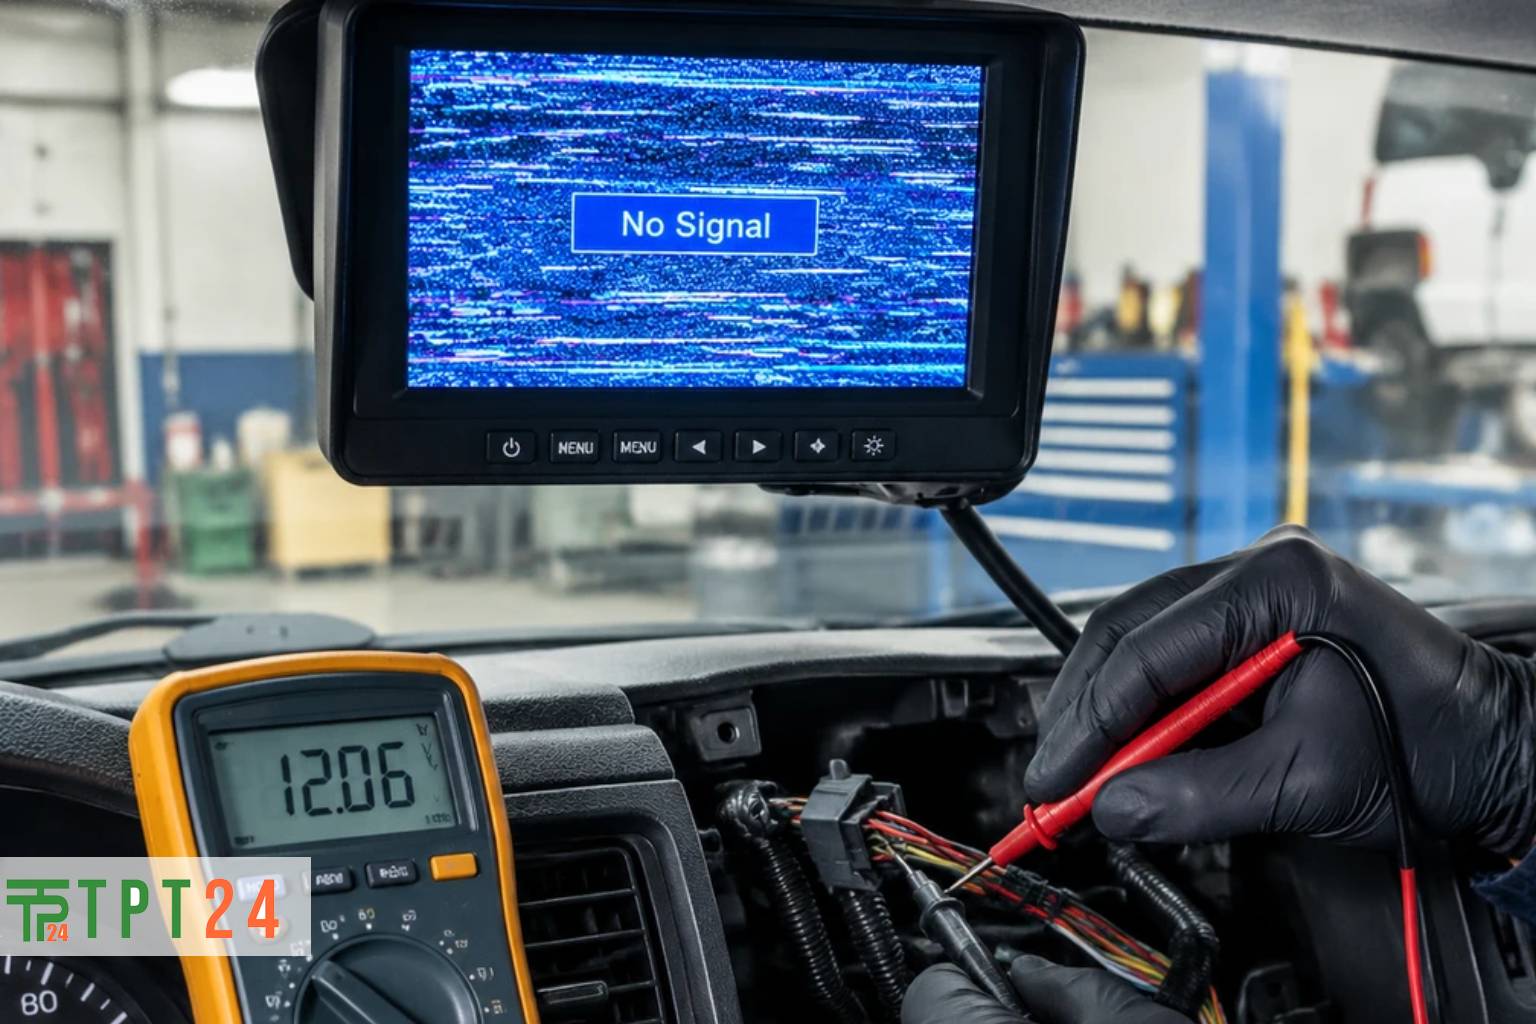
Backup Camera Installation Issues: 5 Expert Fixes for Success
Are you currently struggling with Backup Camera Installation Issues? It is a common frustration for both DIY enthusiasts and professional technicians. When your monitor remains black or flickers incessantly after installation, it is easy to assume the unit is defective. However, in 90% of cases, the problem lies in the electrical path or the signal transmission method.
Precision is key in automotive electronics. Even a slight voltage drop can render a high-definition camera useless. This guide covers the most frequent Backup Camera Installation Issues and provides the diagnostic steps to get your system back in full working order.
Common Backup Camera Installation Issues and Their Solutions
The most frequent Backup Camera Installation Issues typically stem from power supply irregularities and grounding errors. Modern vehicles use “pulse width modulation” (PWM) to power their lights, which can cause erratic behavior in backup cameras.
1. Inconsistent Power Supply
If your camera only works when the engine is off but fails when the engine is running, you are dealing with a voltage interference problem. The camera is likely tapping into a circuit that fluctuates.
- The Fix: Use a relay harness or a power filter. This isolates the camera’s power supply directly from the battery while using the reverse light signal only as a “trigger.”
2. Poor Grounding Connections
Grounding is the most overlooked aspect when addressing Backup Camera Installation Issues. If the camera housing is mounted to a plastic bumper, the ground connection must be hardwired to a metal chassis point.
- The Fix: Use a multimeter to verify continuity between your camera’s ground wire and a known bare-metal point on the vehicle’s frame. Avoid painted surfaces.
 Advanced Troubleshooting for Video Signal
Even when power is steady, signal degradation remains one of the primary Backup Camera Installation Issues reported by users. Interference creates “snow,” rolling lines, or total signal loss on your screen.
3. Signal Interference (EMI)
Electromagnetic interference (EMI) occurs when video cables are run too close to high-voltage lines, such as fuel pump wires or high-amperage audio cables.
- The Fix: Route your video cable along a different path, keeping it at least 6 inches away from factory wiring harnesses. If the cable is too short to reroute, ensure you are using a shielded video cable.
4. Monitor Configuration Errors
Sometimes, the monitor settings are the source of Backup Camera Installation Issues. Many modern displays require the input signal to be set to the correct format (NTSC vs. PAL).
- The Fix: Enter the monitor’s setup menu and verify that the “Camera Input” format matches the camera’s output. If they do not match, the screen will likely display a “No Signal” error, even if the wiring is perfect.
5. Loose or Corroded RCA Connectors
The RCA connectors used in most camera systems are not designed for harsh automotive environments. Vibration can loosen these connections, leading to intermittent Backup Camera Installation Issues.
- The Fix: Use electrical tape or heat shrink tubing to secure RCA junctions. If the connection point is exposed to elements, ensure it is protected with dielectric grease to prevent corrosion.
How to Test and Diagnose Your Setup
To systematically resolve your Backup Camera Installation Issues, perform a bench test before finalized installation. Connect the camera directly to a 12V battery and a test monitor. If the camera works on the bench but not in the vehicle, you can isolate the problem to the vehicle’s wiring path rather than the hardware itself.
Always check your fuses during these diagnostics. A blown fuse during the installation process is a classic oversight that mimics severe electrical failure.
 Specification:
| Issue | Likely Cause | Recommended Action |
|---|---|---|
| Black Screen | Power or Video Input | Check 12V supply; verify NTSC/PAL format |
| Rolling Lines | Ground Loop/EMI | Relocate cable; add ground loop isolator |
| Intermittent Signal | Loose Connection | Secure RCA plugs; check vibration points |
| No Image (Engine On) | PWM Interference | Install a power relay/filter |

Fair Pricing, Guarantee of Authenticity and Quality, Fast Delivery, and Provision of Technical Support to Customers.
Copyright 2025 © TPT24 Company. All right reserved. Powered by TPT24.
